Thursday, October 31, 2013

Peacock Mosaic

My next mosaic is going to be a stylized rendition of a peacock.  Do I have a customer for this one?  No. This is just the first thing that jumped into my head.  And I have a bunch of bright green mosaic tiles left over from some previous pieces.

As always, we start with a rough sketch or two or three or many.

Next we refine the drawing on  a grid.


And then we transfer the drawing to our already prepared mosaic frame.


And just in case you had the impression that mosaic art isn't any fun.  Sometimes it includes crayons, wine and snacks!


Next we start cutting and gluing.


I'm am now about half way done with the gluing on this mosaic.  I need just a few more hours to finish it up.

Peacock Mosaic half way done
And now the gluing is complete.  This one took a total of 9:45 of cutting and gluing time.

Peacock Mosaic Cutting and Gluing Complete
It took me a while, but I finally got time to grout this mosaic.  Enjoy!

Peacock Mosaic Final

Check out some of my other mosaic art pieces in my Gallery.


Monday, October 28, 2013

Mini Mosaics

Mini Mosaic Frame
At the arts and crafts show this past weekend, I realized that there are a lot of people who want to buy a piece of artwork, but just couldn't afford to plunk down the number of dollars that I have to charge for my mosaic art pieces.  I was very happy to sell two pieces, but there were a lot of folks who would have purchased a more affordable piece.  The experience got me to wondering if I can make some nice but inexpensive pieces.  Something like a stocking stuffer.

My normal pieces are either 1' x 1' or 2' x 1'.  Not counting drying time for glue, stain and grout drying, it takes me about 21 hours to make my normal size pieces.

So the challenge: Find a way to make the frames quickly and cheaply, but still nice enough that folks will want to buy them.  I came up with a design for my 13" x 7.5" frames.  Inexpensive furring strips cut to length with a 45 degree angle and glued together. This frame is then mounted on a small piece of plywood. The frame is then sanded and stained.  I am very happy with the results.  I have to give a special shout out to my friend Jim Nelson who is an awesome wood worker. He taught me how to get a very tight 45 degree angles on these small pieces of wood.

My goal is to get these mini mosaics down to about 3 hours of total construction time.  I'll let you know how I am doing.


Sunday, October 27, 2013

Two Sales Today

I sold two pieces today.

Moon Tree


Snow Mountain
I didn't realize how popular these two pieces might be.  Several people wanted to buy them.  I think I could have sold multiple copies of each.  I may have to make some copies.

Check out some of my other mosaic art pieces in my Gallery.


Saturday, October 19, 2013

The Angel

How many angles can dance on the head of a pin?  I don't know, but it only takes one angel to make my head spin.  So, if you've read my blog at all, you will have realized that I mostly do wildlife.  A Turtle, A Frog, A Fox. A Bumble Bee.  I also do some outdoor environments like the beach or a farm.  I'm comfortable with that sort of thing.  I have a client though who does not particularly care if I am comfortable. This client has insisted repeatedly that I do an angel.  And despite my protests that I only do wildlife, this client would not take no for an answer.  So I said to my client.  What exactly do you think an angel looks like.  This was my client's sketch.

Customer's Sketch

OK - Don't panic I say to myself.  Just start sketching and something will start to look good. Not there yet, but I start to see something in my sketches......

My Initial Sketch

And this is the image that starts coming through.

My Refined Sketch


And then I added a little color.

Color Grid Drawing

And in keeping with my process, I transferred the grid drawing to my already prepared mosaic frame. Now I just need to invent a new method to add the facial details.  Doing this with glass tile only is not going to work. Wish me luck.

Drawing on Frame
Here I am half way done with the gluing.

Middle of Gluing
So I finally finished the gluing.
Gluing Complete
Next I had to grind the facial features.  I told you when I started this project that the fine features of the face were just going to be too hard to do with tile alone.  I decided to use my dremel tool with a grinding attachment.  I know that some of my mosaic art friends are probably screaming right now, "No Grinding", but hey, my art is my art.

Grinding Face

Now it is time to apply the grout.  For this project I am using my secret recipe for light gray grout.  One part black grout and two parts white grout.

Applying Grout

And at last the angel is finished.  I don't expect to be getting any more commissions in the near future for angels so please enjoy this one. (Click on photo for a larger view)

Finished Angel

Check out some of my other mosaic art pieces in my Gallery.

Tiles used in this project
Hair - Yellow
Skin -Ice Pink (Opus Mosaics)
Gown - China White (Opus Mosaics)
Wings - Sky Blue (Opus Mosaics)
Purple - Fig (Mosaic Mercantile)
Blue - Deep Blue (Opus Mosaics)

Random Angle Facts
There is nothing in the bible that says angels have wings.  I'm going to stick with my pop culture image though because there is also nothing in the bible that says that angels don't have wings.


Sunday, October 6, 2013

Foxxy Lady

Foxxy Lady (Click photo for larger view)
So, I'm breaking with my tradition of not posting anything about a project until it is 100% complete.  I'm doing that for several reasons.  1) Folks keep asking me what I am working on. 2) I can't finish this project until the postal delivery system delivers some mosaic tiles to me. So, while I am waiting for my tile shipment, I am staying busy building more frames, and updating my blog.

My latest project is titled "Foxxy Lady".  I was inspired to do this project by a project that my daughter Rebecca is working on at the University of Alabama.  She is taking a graphic novel class as part of her creative writing minor. (Yes, graphic novel AKA comic books) She and a classmate are doing a story that involves a fox. Rebecca posted some rough drafts of her fox drawings on her website.  I told her that I was thinking about doing a fox mosaic and she gave me a few reference photos to study.


I figure that since I've recently done a reptile and an amphibian, it is only right that I give equal air time to the mammals. (Go Mammals!)  So after studying the reference photos that Rebecca provided, I did a few sketches and settled on this for my subject.

Rough Sketch (1 of Many)
I then took this rough drawing, refined it, added color and transferred it to a grid drawing.

Color Grid Drawing
Next I transferred the fox drawing to my already prepared Mosaic Frame.  This frame is 1' x 2' and is stained with Golden Mahogany.  

Fox on frame
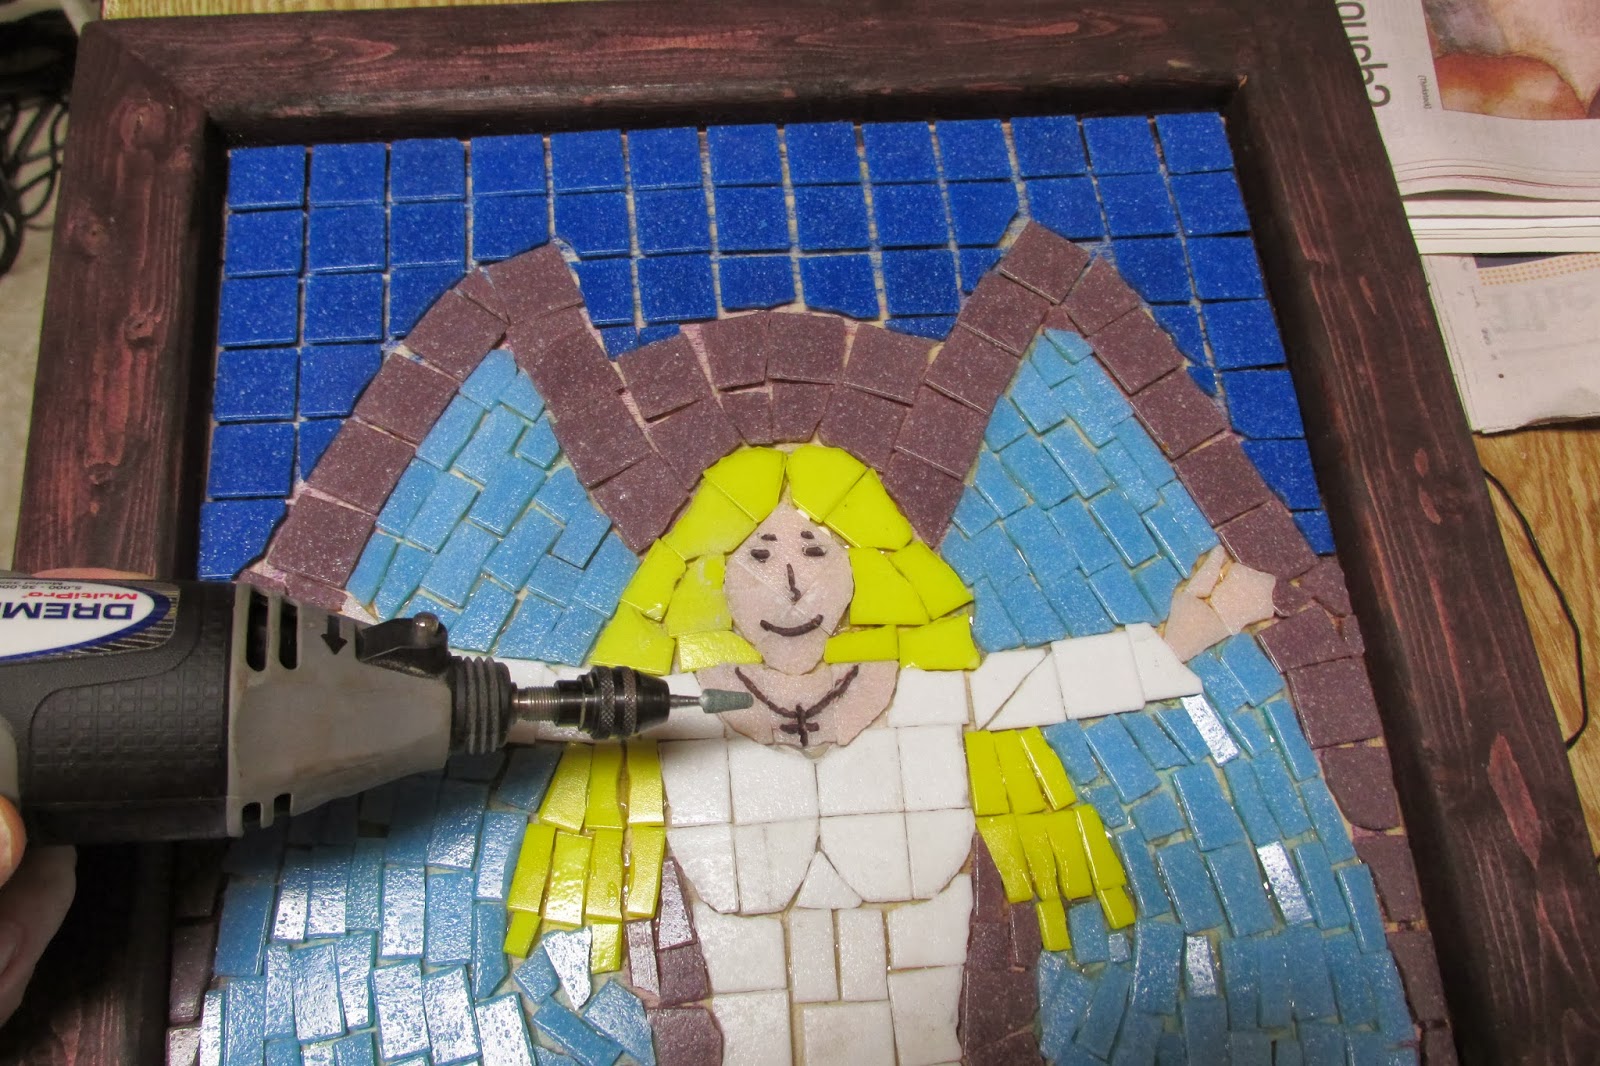
And then I started cutting and gluing the pieces.  

Cutting and Gluing

I've finished gluing the fox.  The next step will be the background.

Completed Fox
That's it for today.  Hopefully the post man will deliver the tiles I am waiting for by tomorrow so that I can complete this project.  Stop back periodically and I will post additional pictures as work on this project continues.

Update on Monday, 7 Oct 2013
I received my tile shipment today and started Foxxy Lady's habitat.  First I made her a nice meadow to frolic in. Guess what the color I used for the meadow is called?  Yep, you guessed it.  It is called Meadow.
  
Fox with Meadow Added

Update on Tuesday, 8 Oct 2013
Progress continues.  Foxxy now has a few trees to hide behind in case something scary happens.  I think I need about one more night of gluing in order to complete this piece.

Fox with Shadows and Trees

Update on Wednesday, 9 Oct 2013
So I didn't quite finish all of the cutting and gluing on this project tonight.  I had to work really late at my day job and I just didn't want to pull an all nighter.  This is a hobby after all.  I'll just finish the last bit of sky tomorrow.

Fox with Trees and part of sky

Update on Thursday, 10 Oct 2013
The cutting and gluing is complete.  After letting the glue dry for a day or two, I will grout this project over the weekend.

Fox Mosaic Gluing Complete

Update on Saturday, 12 Oct 2013
The grouting is complete.  I decided to use a gray colored grout.  I didn't have any gray color grout, so I made some using 2 parts white and one part black.  I'm happy with the result.  It is exactly what I was going for. This mosaic is 1' x 2' and requires about one pound of grout.

Preparing to Grout
I applied the gray grout using a float and worked the grout into all of the nooks and crannies.  

Globs of Grouts
And finally here is the finished  project.  Ladies and Gentlemen, I give you "Foxxy Lady".

Foxxy Lady (Click on photo for larger view)

Check out some of my other mosaic art pieces in my Gallery.

Tile Color List - Here is the list of tiles I used on this project.
Meadow - Meadow Green - Opus Mosaics (.5 lb)
Trees - Ficus Green - Opus Mosaics (1 lb)
Tree Trunks - Oak - Opus Mosaics
Sky - Sky Blue - Opus Mosaics (.25 lb)
Shadows - Slate - Mosaic Mercantile (.1 lb)
Fox - White - Someplace
Fox - Mocha - Jennifer Mosaics 
Fox Feet - Black - Opus Mosaics
Fox Eyes - Sand - Opus Mosaics

Random Fox Facts
Mammal. The red fox is one of 21 species of fox, and the largest member of the fox family. As adults, they hunt alone, not in packs as do wolves or dogs. Their incredible sense of hearing helps them locate prey through thick grass or even in underground burrows. They use scent as a form of communication. Foxes live in dens that they dig or borrow, often using the same den for several generations. Red foxes have been the subject of many tales, depicted as cunning and sly. They are particularly clever at making friends with cats and dogs, charming them to the point where they are allowed to share the same food dish.

Diet
Omnivore. Rabbits, rodents, game birds, beetles, fruit, insects, worms and carrion.

Habitat
Range of habitats, including forests, woodlands, tundra, farmland, and suburbs.

Wednesday, September 25, 2013

Grab Bag Sea Turtle

So, normally I just start one of my mosaic projects with a sketch and purchase the tiles required to complete the picture.  This time I did things a little differently.  One of my mosaic tile suppliers, Mosaic Mercantile, was having a clearance sale.  They had a grab bag special that contained a large number of tiles at a fraction of the price I usually pay.  So I decided to go for it.


What I got was a bunch of crazy shimmery colors that I had no idea what to do with.  My first step was to sort the tiles into general color categories and types.  I found that after I had done this that there were lots of blues and browns in the grab bag.  I started figuring out what might fit this color combination and what I came up with was a sea turtle.  So next I did my rough sketch.


And then I did a better grid drawing.


And then I transferred the drawing onto my already prepared frame and started cutting and gluing.  I cut the pieces for his shell into hexagon shapes.  It gives him a nice turtley look.


Pretty soon my buddy mr. grab bag started to look like a sea turtle.


Now he just needs a proper habitat.


And once the gluing is done, it is time for the grout.


And at last he is finished.  I give you the Grab Bag Sea Turtle.


Check out some of my other mosaic art pieces in my Gallery.

Wednesday, September 18, 2013

I Got A New Dealer


So, I've probably mentioned this before, but I am just a little hooked on the whole mosaic thing.  It's not a terribly expensive habit, but it does cost me some money.  If I were a golfer, a round of golf would cost me a heck of a lot more than my little broken pieces of glass cost.  But everyone who knows me, knows that I am frugal.  Some would use stronger language than that, but lets just stick with frugal for now.

As a result of my frugality, I am constantly looking for was to decrease the cost of my mosaic addiction. One of my cost cutting moves was to start making my own frames for my mosaic art.  I've got them down to about $3-$4 bucks for a 1' x 2' frame.

My next move was to find a cheaper supplier of glass tiles.  I started off with retail from places like Hobby Lobby, Michael's and even good old Amazon.com.  They typically didn't stock the colors I was looking for and the prices were just too high for the number of tiles I have been going through.  I then started shopping around online.  I've purchase tiles from several different companies including Mosaic Mercantile.  I then came across Opus Mosaics.  The prices seemed very reasonable, but I couldn't really get a good feel for their color selection from the online photos.  And each of the different companies I have purchased from has a different name for the same colors.  I noticed that Opus Mosaics had a sample board that shows each of their colors.  It just arrived today.  This will be very handy because it takes all of the guesswork out of picking the right colors.

OK, so now I just need to order some tiles for my next project.  I wonder what it will be?